Banana, Coconut, Pecan Muffins

  • 1 1/2 cups flour
  • 1 tsp baking powder
  • 1/4 tsp salt
  • 2 overripe bananas (works best if they’ve been frozen and then thawed)
  • 1 stick (1/2 cup) butter melted and cooled a little
  • 2/3 cup sugar
  • 1 egg
  • 1/2 tsp vanilla
  • 1/2 cup sweetened shredded coconut
  • 1/2 cup chopped pecans
  1. Preheat oven to 375. Prepare a non stick muffin tin with baking spray. You can use muffin liners but they won’t be as crusty and carmelized on the outside.
  2. Whisk together flour, baking powder and salt in a small bowl and set aside
  3. In large mixing bowl, mash banana and mix with sugar, butter, egg, vanilla, and coconut.
  4. Fold dry ingredients into wet until well moistened.
  5. Fill muffin cups 2/3 of the way. This should fill 6-7 muffin cups.
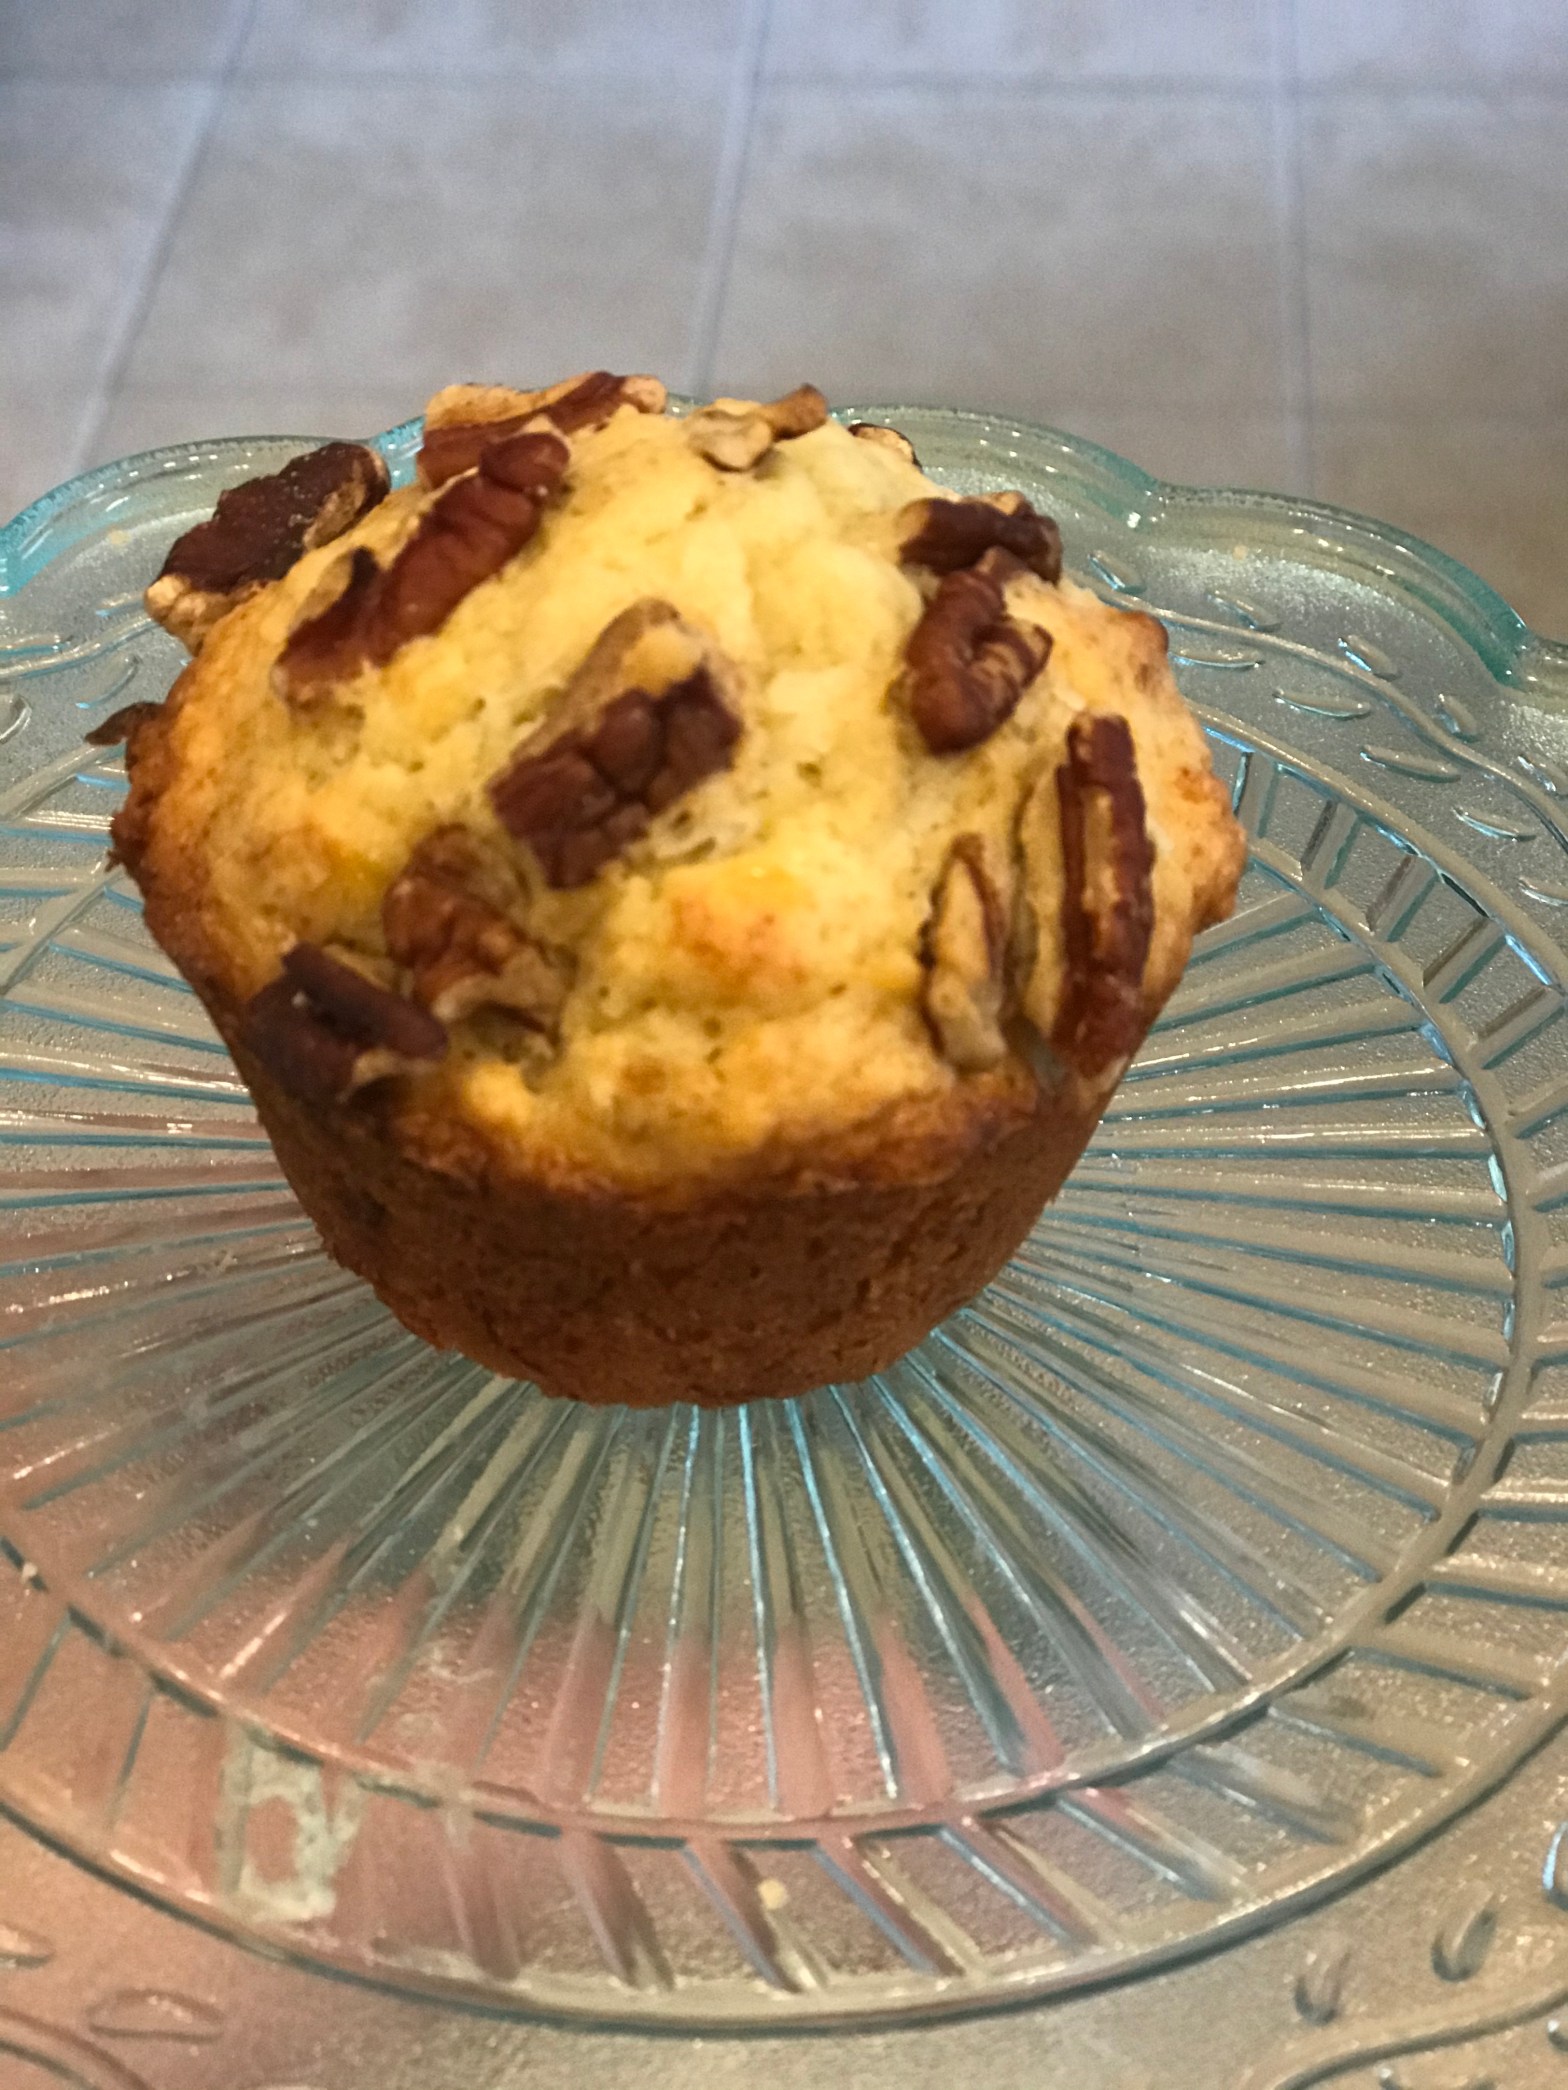
  6. Top with chopped pecans.
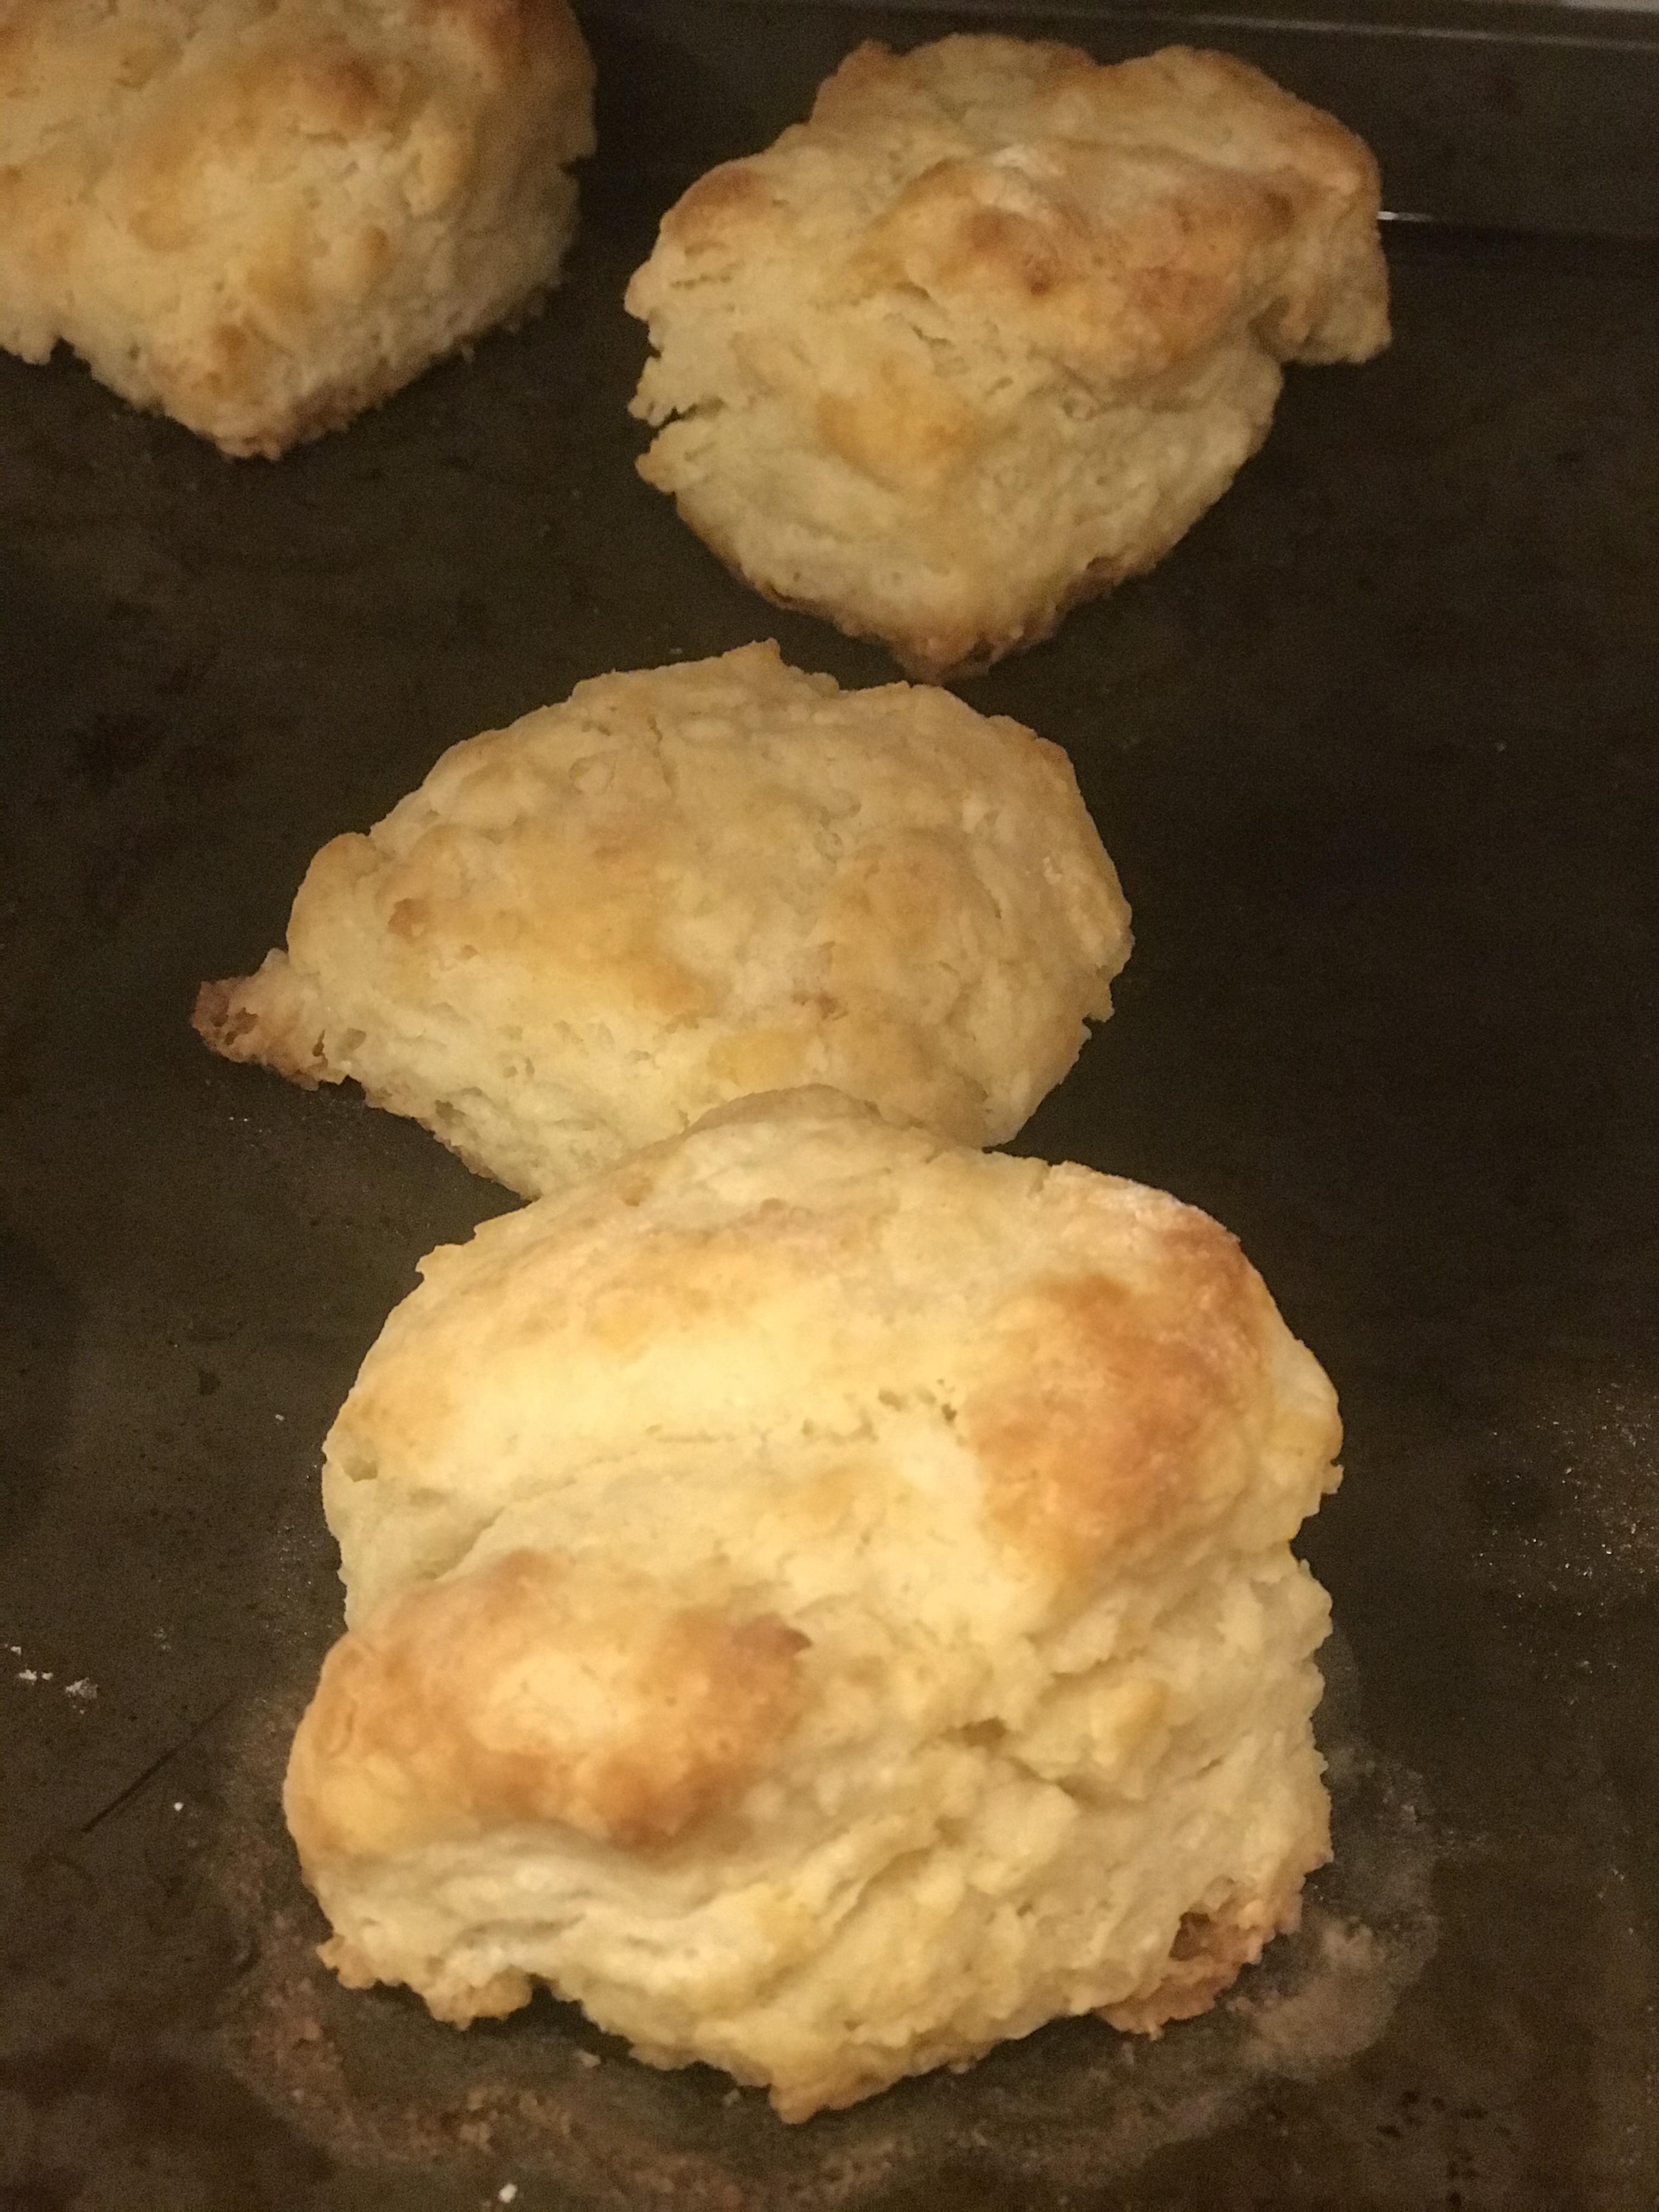
  7. Bake for 22-25 minutes until puffed and golden.
  8. Let cool on wire rack 5-10 minutes before eating. Enjoy plain or with butter

I make these all the time. My husband loves them, and we always have extra bananas at the end of the week. I freeze the bananas the night before and take them out the next morning. You can pinch the ends open and squeeze out the banana into the bowl, and it mashes itself while you stir everything in.

We keep the pecans on top because they get nicely toasted while baking and taste so much better than when mixed in.

I never use muffin liners because the outside gets beautifully brown, and it’s so much tastier. Like seriously better. If you don’t have baking spray, you can use a think swipe of Crisco (I always keep a small container of Crisco for using in cake or casserole pans). I do this for cupcakes, too.

All in all, it takes no more than 10 minutes to mix. Very easy and low effort. Happy baking.

Ravioli lasagna/weeknight lasagna

    2 jars of spaghetti sauce (I used Classico Sweet basil tonight)
    2 bags frozen cheese ravioli (25 oz bags)
    2 cups shredded mozzarella (or more!)
    Optional: 1# ground beef OR Italian sausage
  1. Preheat oven to 400 degrees Fahrenheit
  2. IF USING (optional) brown meat and break up while browning into small pieces.
  3. In a 9×13 casserole, pour about 1/3 of the sauce.
  4. Layer first bag of frozen ravioli over sauce.
  5. Pour 1/3 sauce over ravioli (sprinkle half the meat on sauce)
  6. Layer half of the cheese
  7. Add the second bag of ravioli
  8. Last of the sauce and meat (if using)
  9. Top with remaining cheese
  10. Bake covered with foil for 30 minutes. Remove foil and bake another 10-15 until bubbly. You can broil for a couple of minutes if you want that browned look.

This recipe can be halved. Just use one jar, one bag, half the cheese and use a small 8″ square casserole.

First layer of frozen ravioli

Sauce layer

Cheese layer

Done!

Don’t substitute in meat ravioli. It has to be cheese so you get the ricotta pockets that makes this lasagna-like.

First post using phone so sorry for formatting issues.

Collard Greens

  • 2 10oz bags precut and pre-washed collard greens. Rinsed.
  • 2 cans low-sodium chicken broth
  • 1 yellow onion, diced
  • 1.5 tbsp red pepper flakes
  • 1 smoked turkey wing (both parts)
  • 1 tbsp garlic
  • 2 tbsp olive oil, or bacon fat
  1. In a large pot or dutch oven, melt bacon fat, if using. Or add olive oil. Add diced onion and cook until yellow and translucent.
  2. Add garlic and red pepper flakes and cook about 30 seconds.
  3. Pour in both cans of chicken broth and add turkey wings. Bring to boil and then cover. Lower heat to keep at a simmer for 30 minutes (low to medium low).
  4. Add collard greens. Stir them up, so they all get wet. They will begin to wilt pretty quickly, and you’ll be able to get them all in the pot.
  5. Cover and cook on low for 60 minutes or longer until the tenderness you want.
  6. Remove turkey wings. You can shred the meat and add back to the pot, or throw away. Smoked turkey has a very ham like taste.
  7. Serve with tabasco or Trappey’s peppers in vinegar sauce. I like to mix the collards into plain white rice, but they are also good with mac and cheese.
Onions, garlic and red pepper flakes. The oil will release the flavor of the red pepper flakes so don’t skip this step.
Done!

I didn’t grow up with collard greens, but I did grow up with cooked spinach, which I still don’t like. Spinach gets too soft and too slimy for me, but collards are sturdier greens. I had them at a restaurant once (they called them turkey greens), so I figured out how to cook them the way I like them by reading a lot of recipes and then adapting based on what I had on hand. Many recipes will call for a turkey leg or ham hocks, but I use the turkey wings. One packet that has three turkey wing parts is $5 at my local Safeway. I use two for the recipe and freeze the third part. Then the next time I buy a packet, I use two and freeze the third one, so two packages gets me three pots of greens.

I think the texture of collard greens is much nicer than kale. When cooked for an hour, they’re almost melty and are delicious added to plain white rice. They’re also difficult to over cook. Tonight I served greens with white rice, and grilled chicken breasts (marinated and grilled for 20 minutes).

Buttermilk Biscuits

  • 2 cups all purpose flour (may also do half and half of all purpose and cake flour for a lighter biscuit) (240 grams)
  • 1 tbsp baking powder
  • 1/2 tsp baking soda
  • 1 tsp sugar
  • 1/2 tsp salt
  • 8 tbsp (one stick) COLD unsalted butter
  • 3/4 cup COLD buttermilk
  1. Preheat oven to 450
  2. degrees with rack in the middle position.
  3. Place dry ingredients into large mixing bowl and whisk together.
  4. Grate stick of cold butter into flour. Toss with your fingers to separate butter shreds and coat each with flour.
  5. Pour in buttermilk and mix together into a clump, but DON’T overwork it. you want the dough to just come together.
  6. Transfer dough to a lightly floured surface (clean counter, cutting board, or pastry board) and gently work dough into a rough ball.
  7. Using a sharp knife, cut the dough into fourths. Then cut the fourths into thirds. Gently shape those into circles, but don’t overwork it. you want to keep it kinda loose. As you’ll see in pictures below, I kinda keep mine triangular in shape. I like the points being a little crunchy. You can also pat the dough into a rectangle and use a biscuit cutter to cut into biscuits, but this is easier to me, and it keeps me from re-rolling out the dough to use it all. Every time you re-roll the dough, you’ll make the biscuits tougher.
  8. Put the biscuits on a plate and refrigerate for 20-30 minutes. This is mainly to keep the butter cold. If you worked quickly, you may be able to skip this step, but if you were interrupted by kids while you were mixing the dough, you’ll want to do this to get that butter cold again.
  9. Place on an uncreased baking sheet and bake for 10-12 minutes until tops are golden. Serve immediately.
Grate the butter instead of working with a pastry cutter. It’s WAY easier and you’re less likely to melt the butter as you work it in with your fingers.
Butter shreds! just toss these gently with your fingers to coat and separate.
the mixed dough, just before working into a rough ball.
My irregular shaped biscuits.
All done! the irregular shapes give a little crunch to the fluffy texture.

So there are the biscuits I make. If you don’t have buttermilk, add a tbsp of white vinegar or lemon juice to regular milk and let it sit for five minutes and use that. You need the acid to get the rise. I know they’re not perfect circles, but I’m a home cook not a chef, and these are the way I like them. They’re also about the only biscuits my husband will eat. He does not like restaurant biscuits AT ALL.

Thanks for reading. I’ve started taking pictures and uploading everything I’m cooking lately, so I can make at least one post a week. I work and commute, so I only have time to write on the weekends. Happy eating!

Every kid’s favorite mac & cheese.

  • 1 lb large elbow or large shell pasta
  • 5 tbsp butter
  • 6 tbsp flour (all purpose)
  • 1.5 tsp dry mustard
  • 1 tsp onion powder
  • 3.5 cups milk
  • 16 ounces of shredded cheese about 2/3 extra sharp cheddar and 1/3 monterey jack
  • Salt and pepper
  • Optional: homemade breadcrumbs or canned fried onions.
  • Adult options: 1 can of chopped hot green chilis or chopped jalapeños.
  1. Cook pasta as directed on package. drain. Set aside.
  2. In same pot, melt butter on medium low. Add flour, mustard and onion powder. Whisk while cooking flour until very, very slightly browned. Pour in milk and whisk until smooth.
  3. Cook on medium heat whisking frequently without letting it boil. it will get thicker. When it coats the back of the spoon and you can draw a line through it, it’s thick enough. This takes about 5-10 minutes. (see picture below). Don’t walk away during this step.
  4. Turn off the heat and stir in cheese by the handful letting the cheese melt. Extra sharp cheddar may separate and make it a little grainy. The monterey jack is to combat that, but sharp cheddar tastes better, so I deal with a little graininess for flavor.
  5. Stir in pasta.
  6. OPTIONAL: Pour into a 9×13 casserole and top with breadcrumbs or french fried onions and broil until golden. Homemade breadcrumbs: pulse old bread in a food processor or blender a few times to make small breadcrumbs, but still chunky. Toss with melted butter and top the mac and cheese. You’ll use about 8 slices of bread. Works best of bread is a little dry. My kids prefer no breadcrumbs, so I rarely do this.
  7. OPTIONAL FOR ADULTS: Drain can of chopped hot green chilis or jalapeños and stir in at the end. You can buy mild if spice is your enemy. I’m not allowed to bring anything other than this to work potlucks.
  8. Serve and enjoy!
Thick enough to coat a spoon.
Melt a handful at a time. Too much and it will be more grainy.
Ready to eat.

I’ve adapted this from multiple recipes. My kids’ friends have literally texted me asking me to make this so my kids can bring them the leftovers, and I now have to make this for every party, whether or not I’m hosting.

So that’s my first recipe! Hope you enjoy. And if this is one of my kids reading this, I love you!

My First Blog Post

The greatest dishes are very simple.

— Auguste Escoffier.

Okay, so if you accidentally stumbled on this site, I am NOT Escoffier or anywhere near. I’m an untrained home cook. I watch Great British Bake Off, but do not aspire to make Pavolovas and biscuit sculptures. I’m hoping to create a recipe site that my kids will use to reference simple meals they can make when I’m not around either now or in the future. My plan is to limit the narrative to what is necessary for the recipe (maybe a bit of background) because my pet peeve with recipe sites is the pages of scrolling to get to the recipe. Right now, I’m just trying to get the hang of the new Word Press editor.

Who am I, and why should you be here?

My name is Toni. I’m a Gen X mom of four and completely untrained in cooking. I DID, however, grow up in a house where cooking as a family was a weekly event. At 9 years old, my mom went to work outside the home, and we each took turns making dinner. I started with spaghetti sauce and went from there. I used to read the Encylopdia of Cookery books my mom had and watched the cooking shows that were available on PBS back in the 1980s like Yan Can Cook, and Julia Child.

I wanted to write down my recipes for the kids, but realized in a digital world, they would benefit more from me putting the recipes down on a website they can reference. Don’t worry, I’ll keep paper copies just in case. I plan to start with the recipes they can make now on work nights (I get home at 8pm after work and commuting. They and their dad are home much earlier), so expect some dump and bake meals at first.

If you found this website, I hope you find the recipes useful and not annoying. I will keep narratives to a minimum and to what is necessary for the recipe. Don’t expect to hear stories like sitting on the patio with my grandpa eating sun-warmed tomatoes fresh from the garden UNLESS it’s a blog post without a recipe attached. No one wants to scroll through 8 pages of narrative to find out what temperature to preheat the oven.

Be kind and eat well.

Design a site like this with WordPress.com
Get started